21. StellarMate Tools
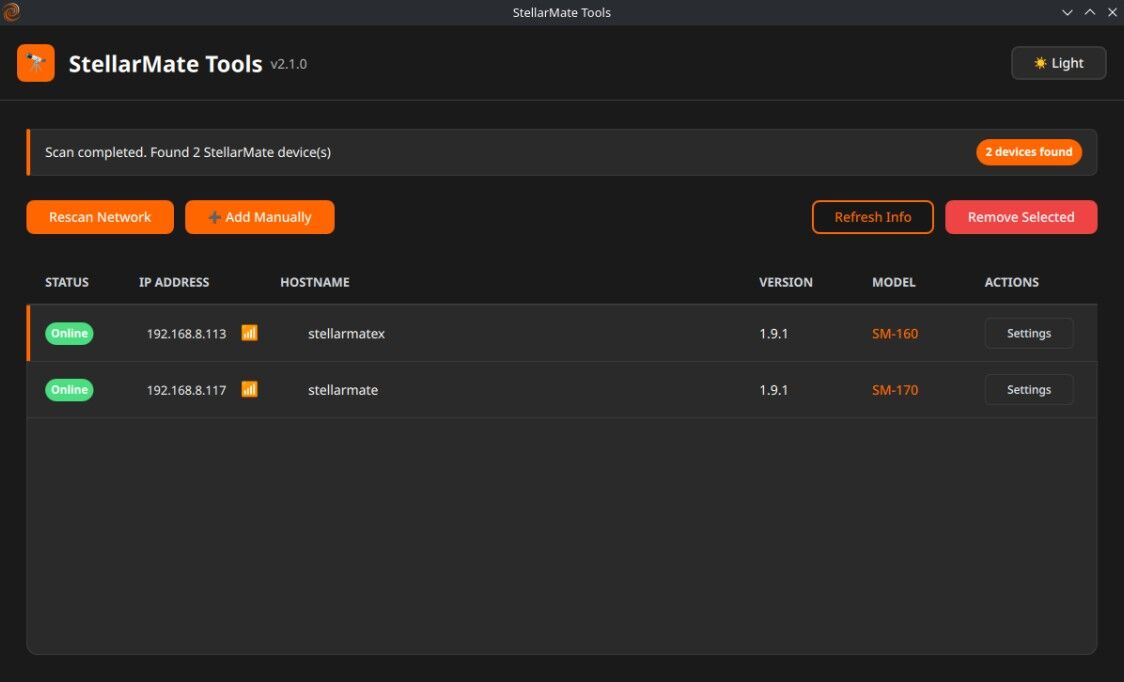
Manage all StellarMate devices on your network from this interface. Follow these steps to control your devices:
Discover Your Devices
Click Rescan to automatically detect all connected StellarMate devices on your network. If a device doesn’t appear, manually add it by entering its IP address directly.
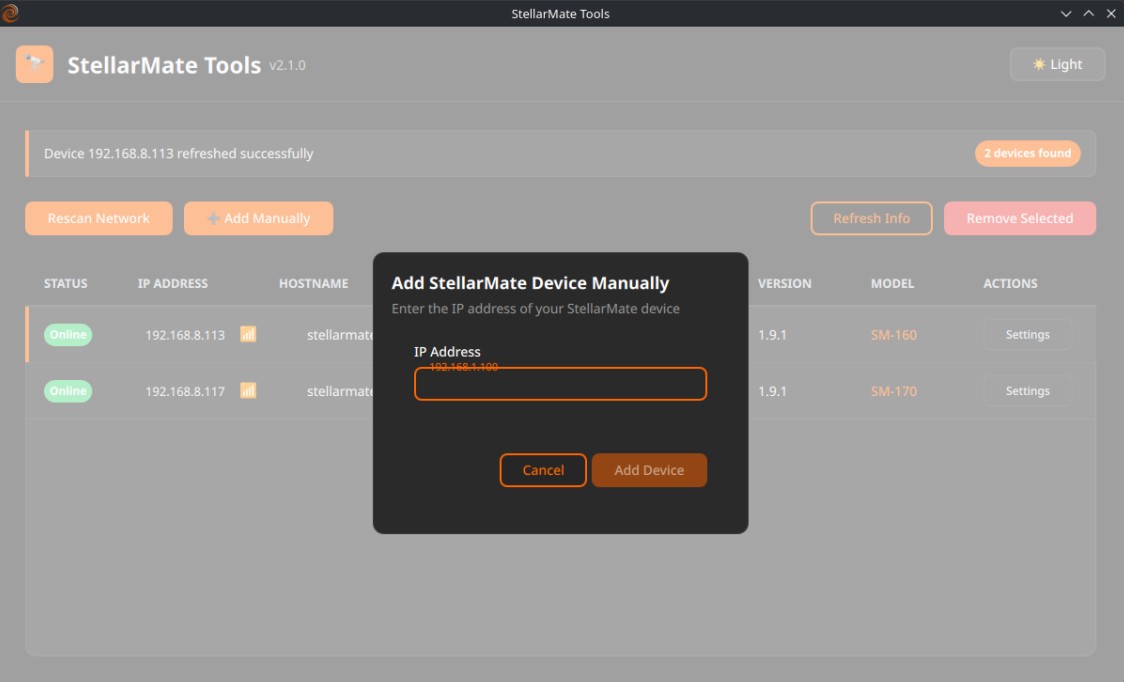
Manage Your Device List
Select any device from the list to work with it
Click Refresh to update device information
Click Remove to delete devices you no longer need
Important: Ensure all devices connect to the same network to appear in this view.
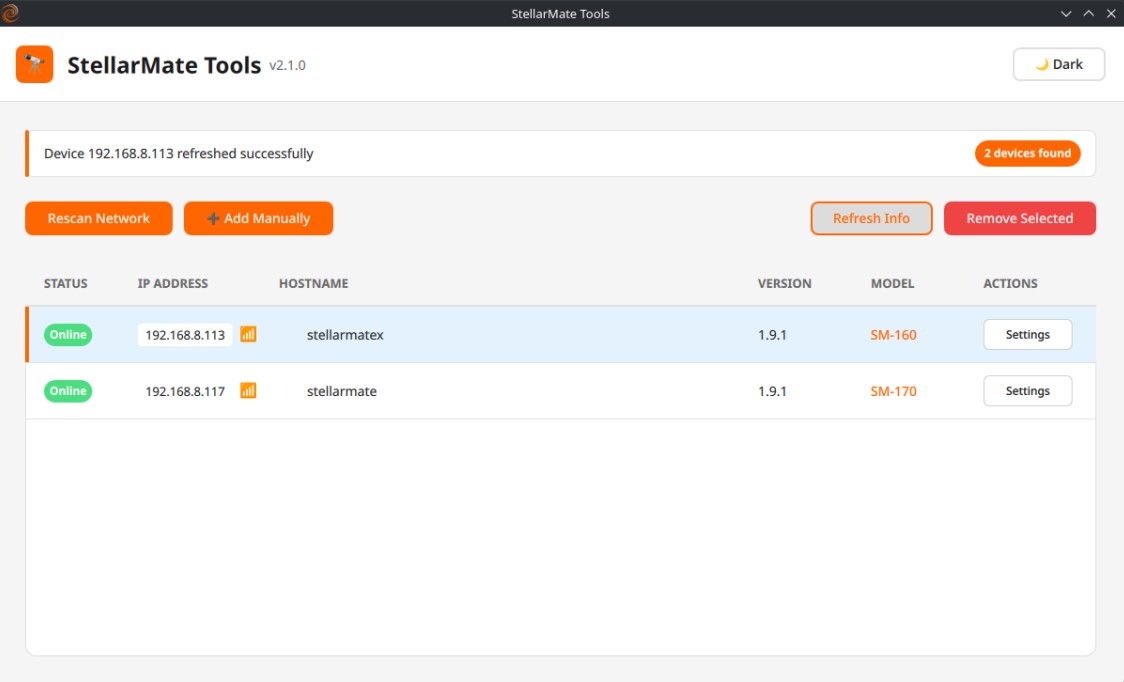
Switch between light and dark mode as needed for your viewing preference.
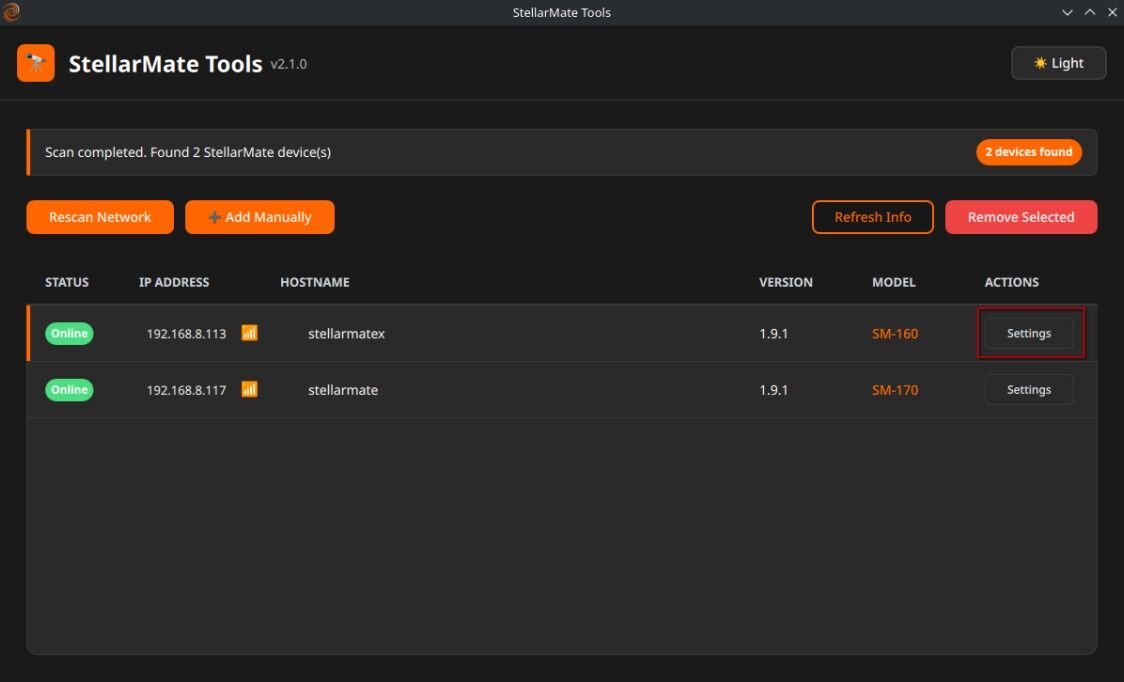
Access device settings by selecting your device and clicking Settings.
The device configuration options will display, allowing you to make necessary adjustments.
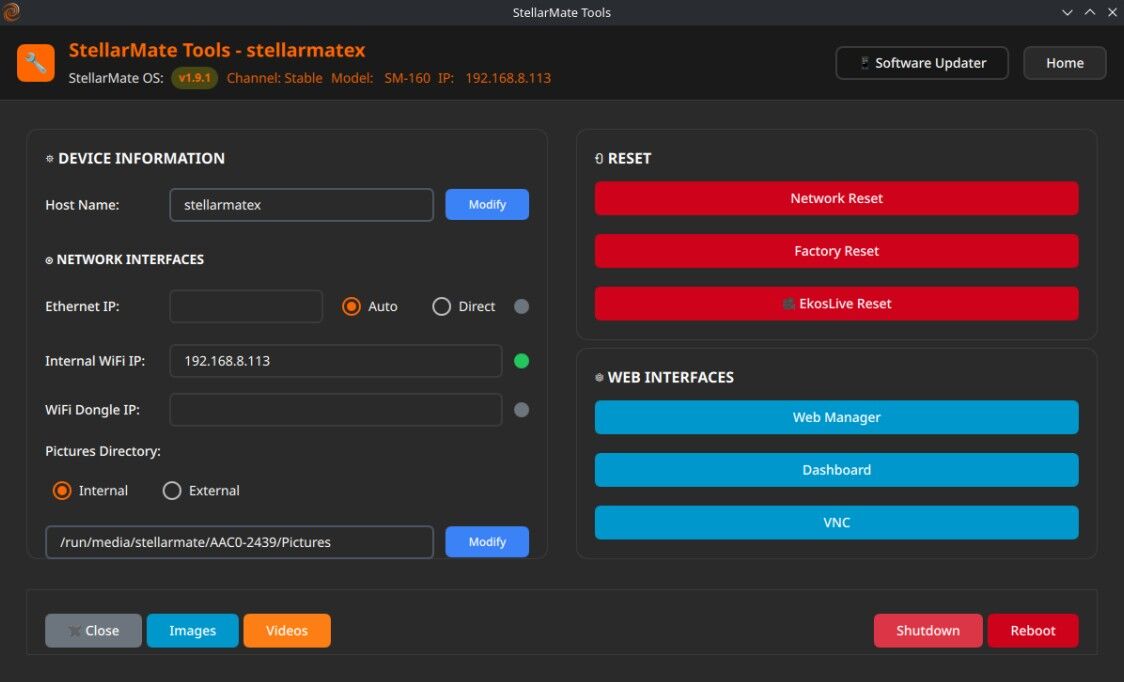
Device Information
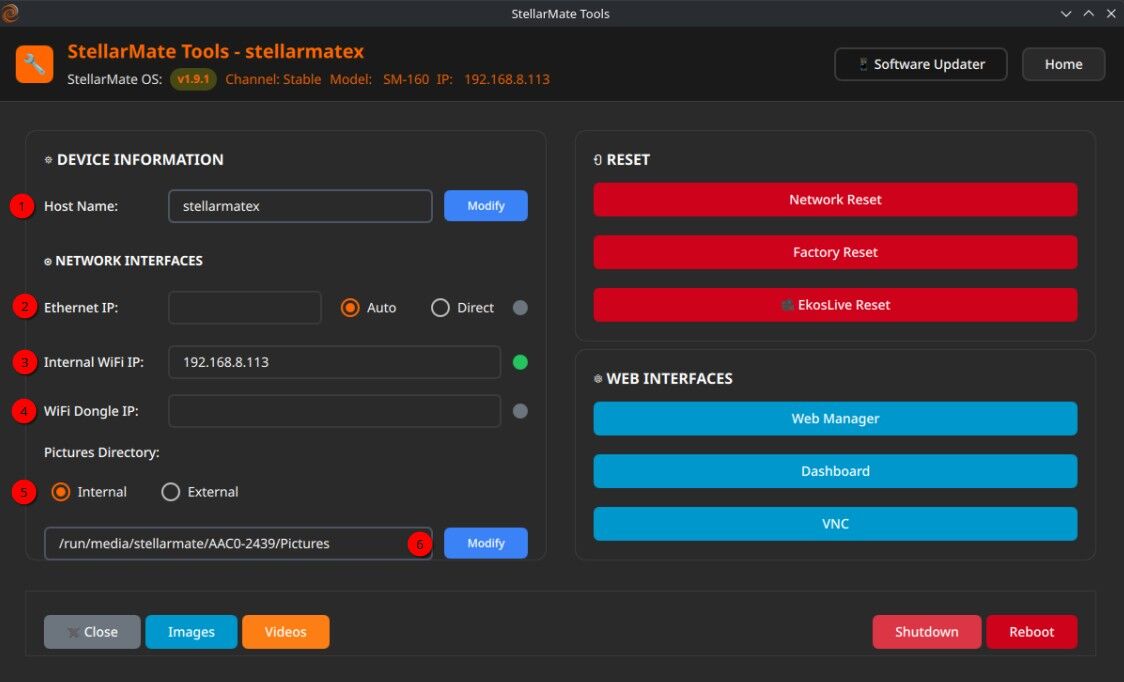
Configure device settings and information on this page:
Hostname: Modify the hostname as needed. Press the confirm button after editing.
Ethernet IP: View your wired connection address (when cable is connected)
HotSpot Configuration: Select which network interface runs the StellarMate HotSpot (10.250.250.1). By default, StellarMate runs the HotSpot on the built-in WiFi chip. Use this switch to run the HotSpot on your external WiFi dongle, which frees up the built-in WiFi for other network connections. - Internal WiFi: Monitor IP address for internal built-in WiFi. Usually shows HotSpot IP address 10.250.250.1 unless the unit runs in station mode and connects to an external network. - External WiFi: Connect to router networks or external network devices.
WiFi Dongle IP: Monitor your dongle connection status when using WiFi Dongle.
Pictures Directory: Change pictures directory to external USB device or custom folder. Reboot required after modifying the directory.
Reset Options
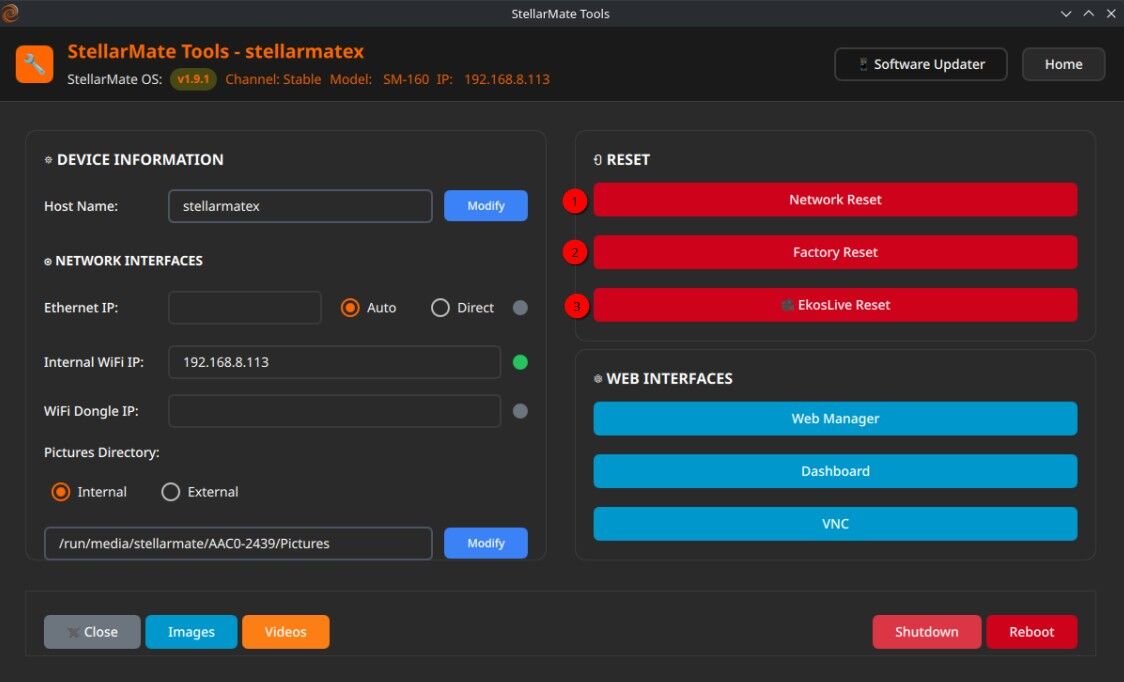
Choose the appropriate reset level for your needs:
Reset Network: Restore all wired and wireless network settings to factory defaults.
Factory Reset: Reset all system settings to factory defaults. User images remain available.
Reset EkosLive: Clear EkosLive settings including all preview images and thumbnails.
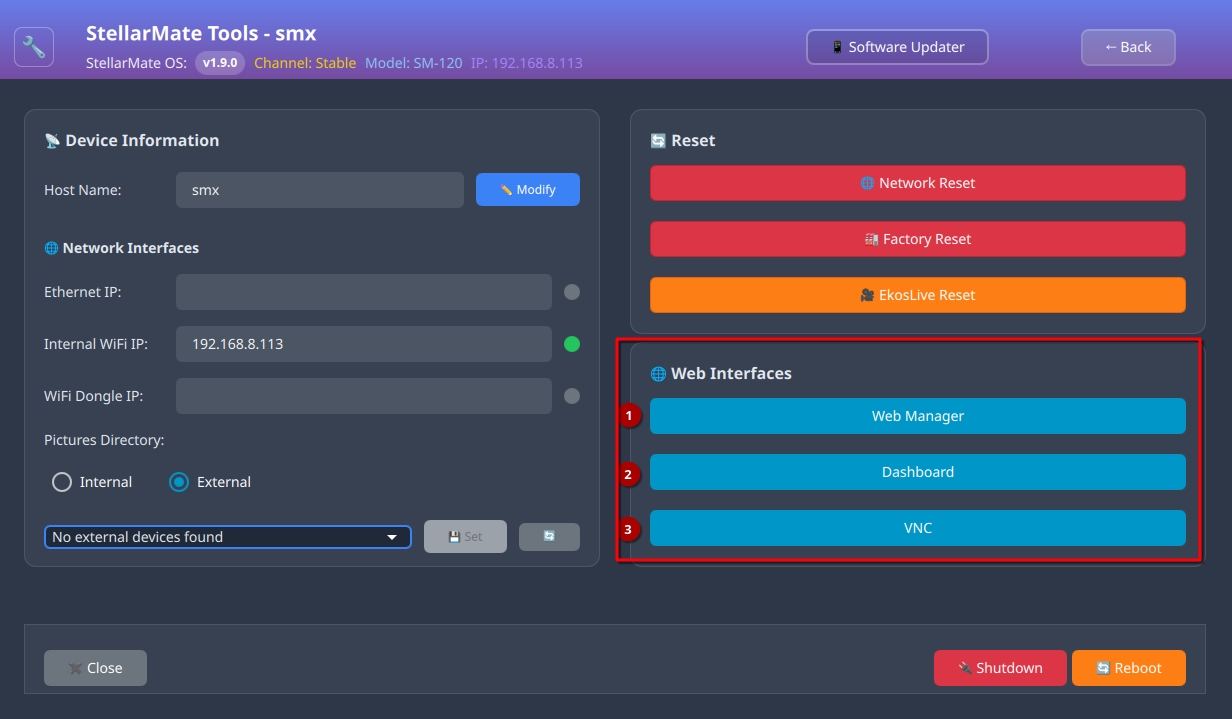
Access StellarMate services directly from your browser:
Web Manager: Launch the complete Web manager service in your browser
Dashboard: Open the StellarMate Dashboard
VNC: Access remote desktop via browser
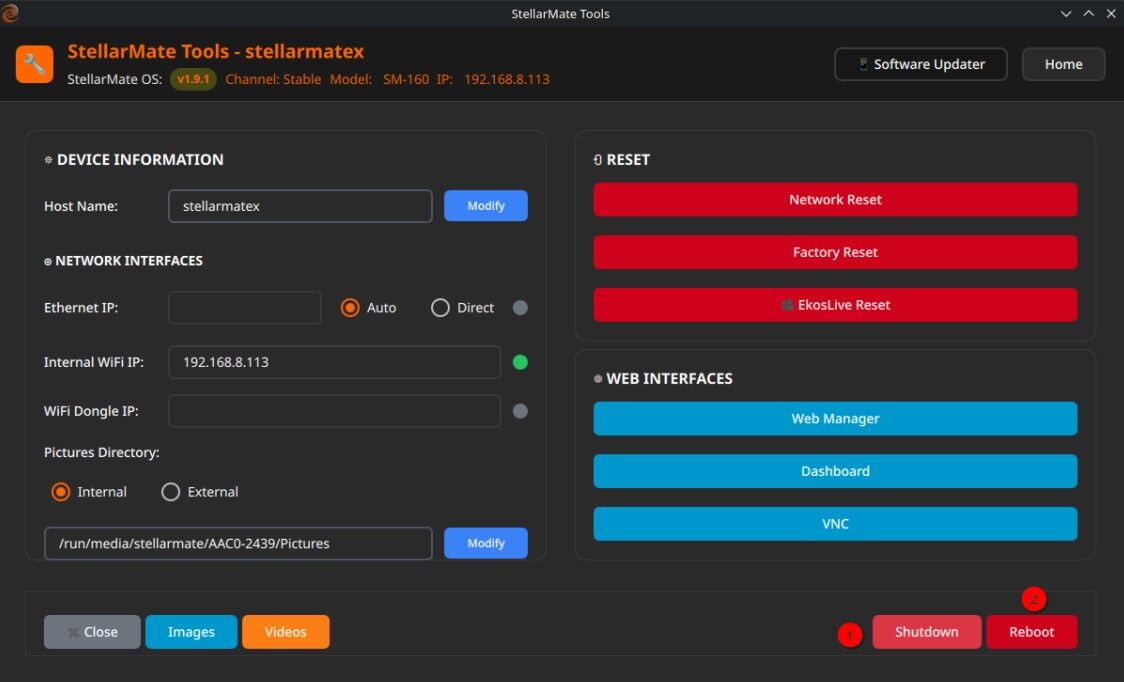
Images: Access captured images.
Video: View recorded .SER Videos (SER player is not available).
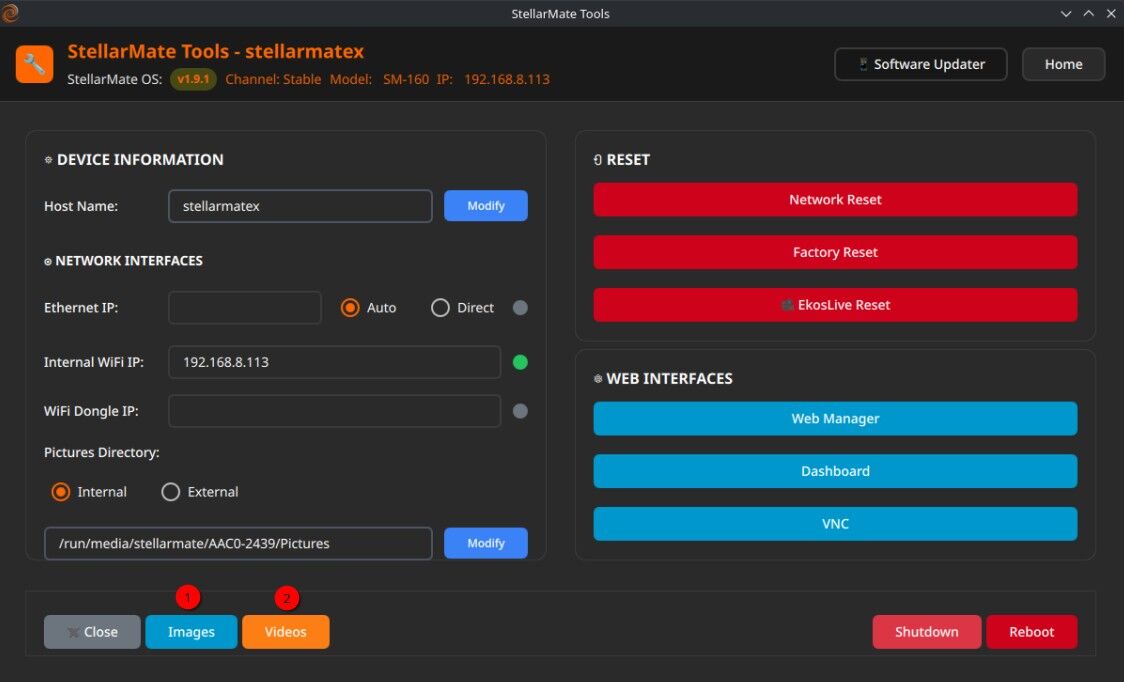
Manage Your Captured Images
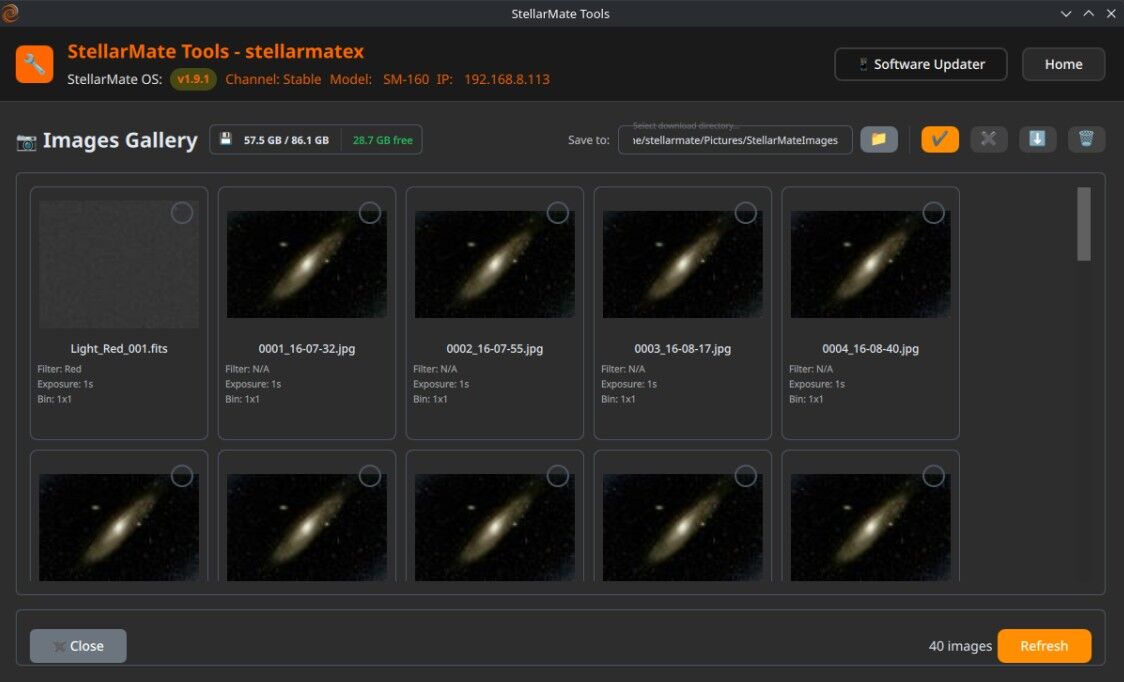
View all captured images in this section.
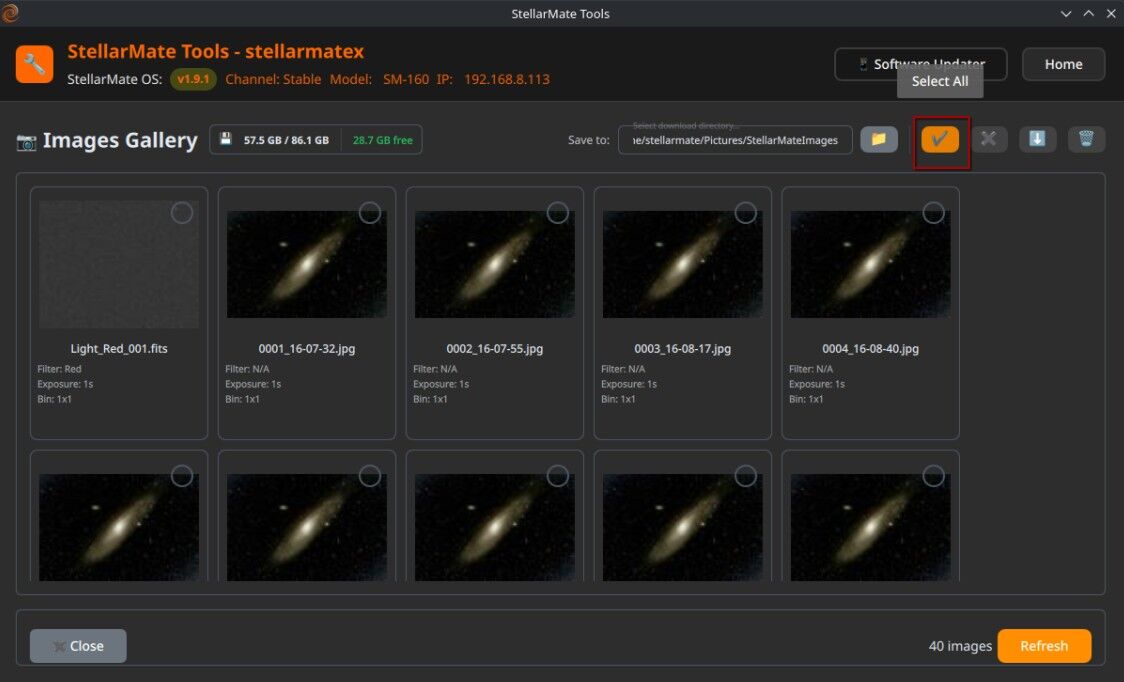
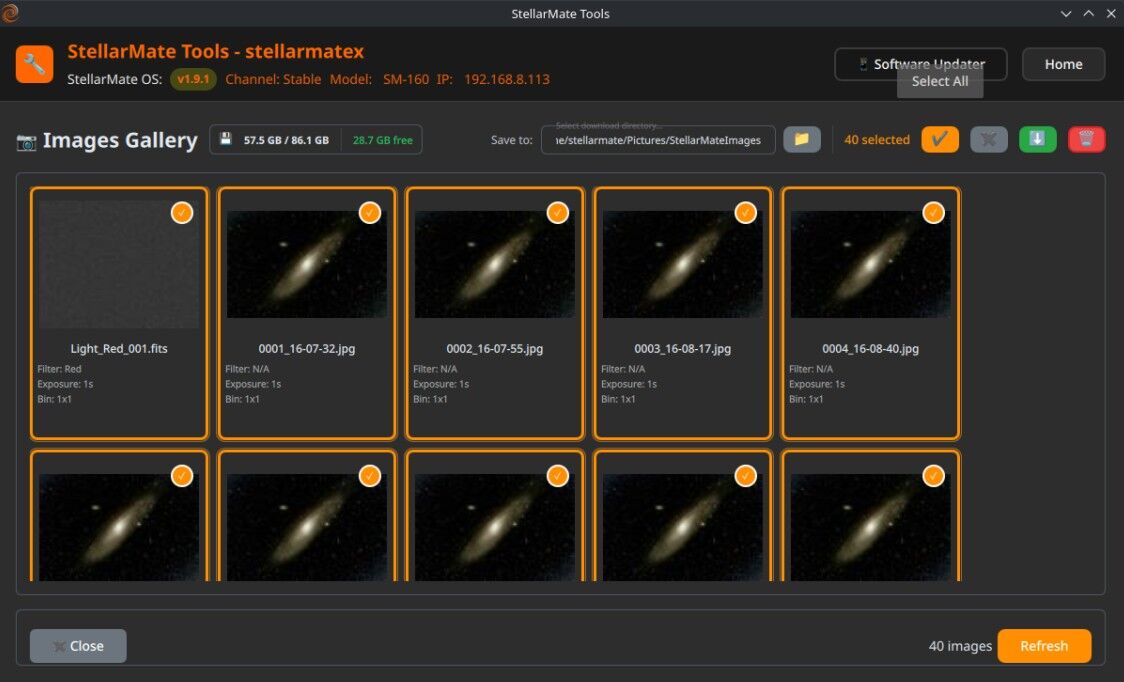
Select individual images or click Select All for batch operations. Click the download icon button to download your selected images.
Downloaded images save to ~/Pictures/StellarMateImages
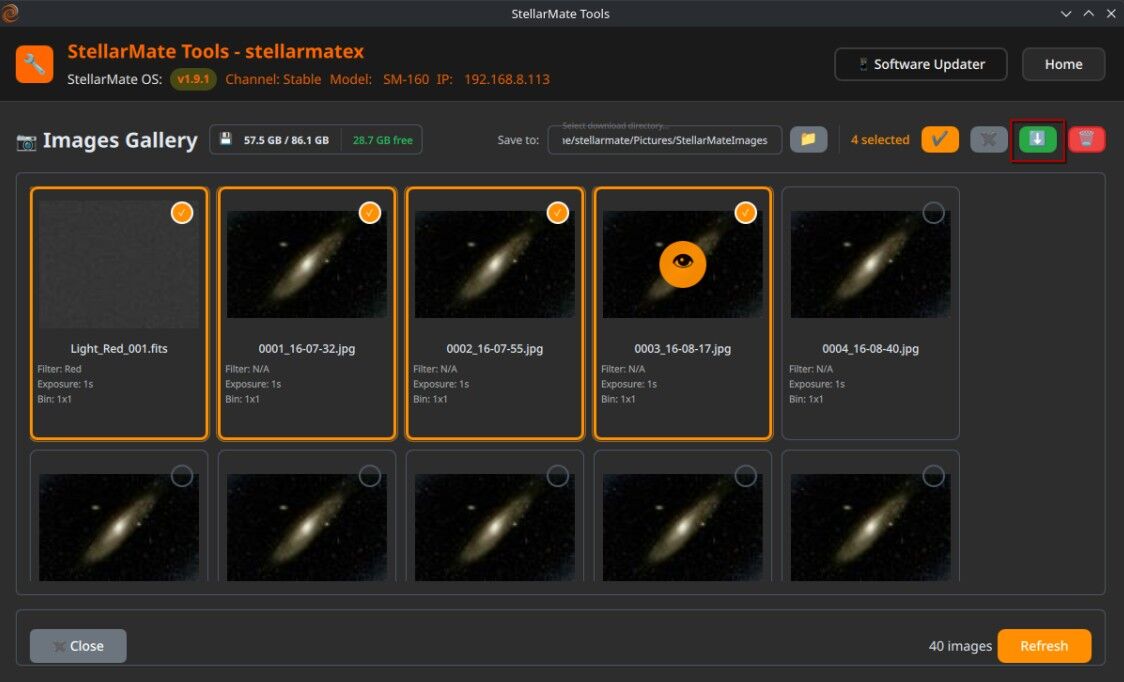
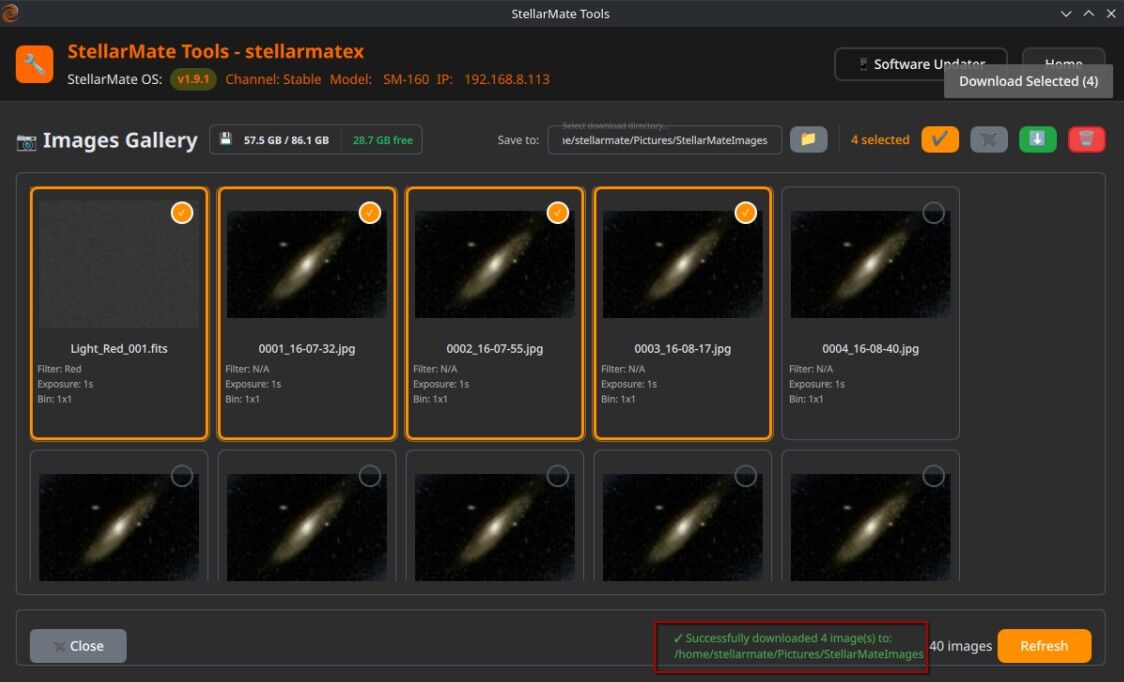
Image Viewing Controls
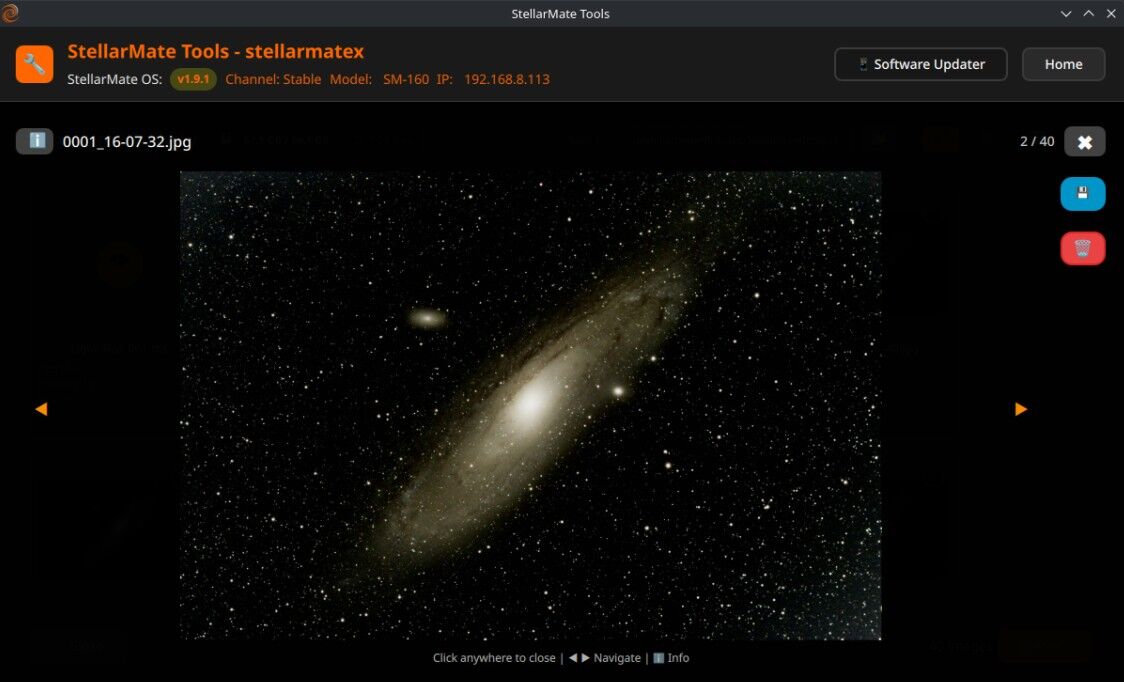
Click any image to toggle full-image view.
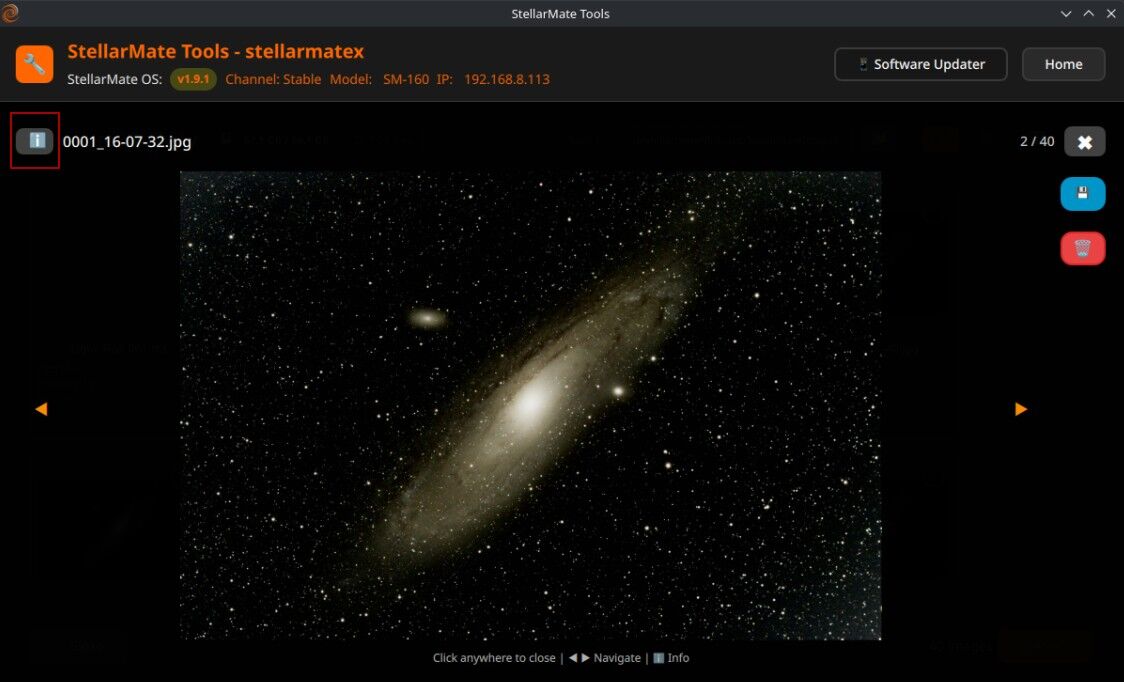
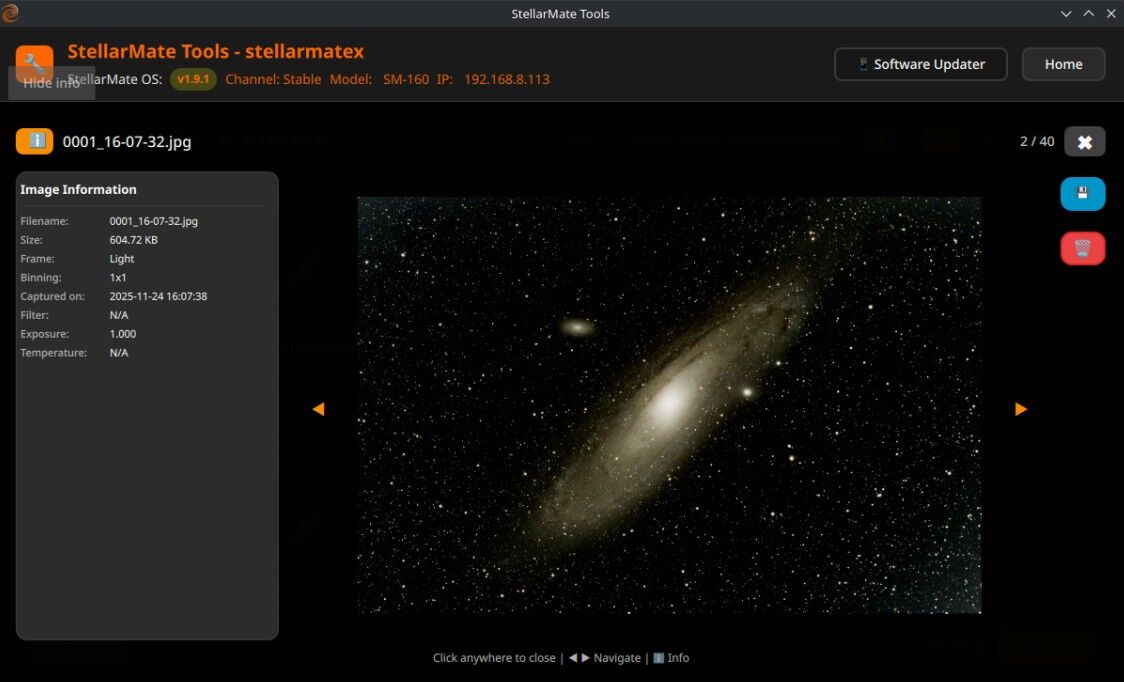
Toggle the Info icon button to view detailed image information.
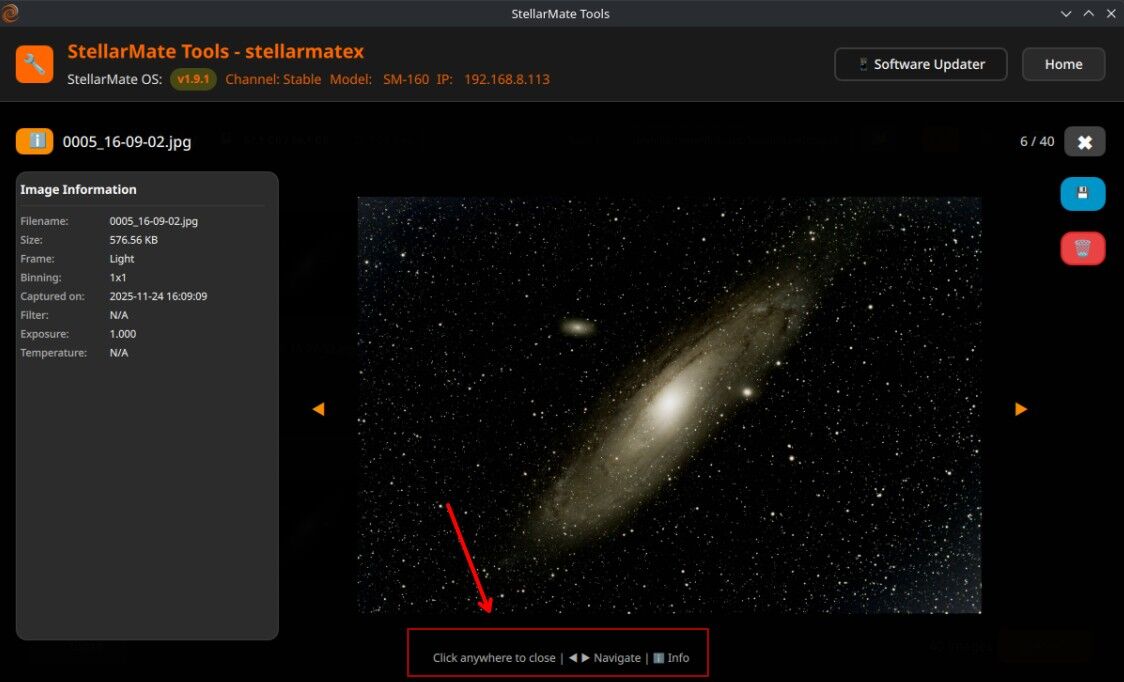
Navigate between images using keyboard left/right arrow keys.
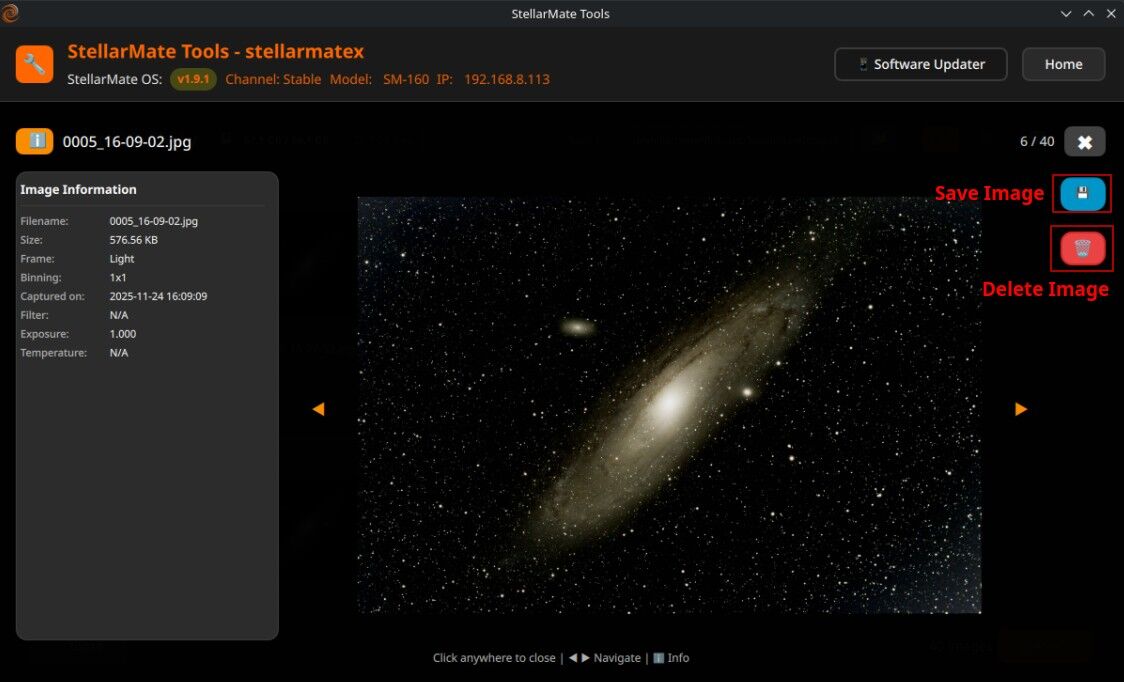
Use these buttons to save or delete individual images.
System Control
Shutdown: Power down your StellarMate device safely
Reboot: Restart your device to apply configuration changes
21.1. Updating StellarMate
Ikarus Technologies releases a new StellarMate update every 2 months. Hot fixes are pushed on demand. To update your unit, the controller must be connected to the internet either via WiFi or Ethernet.
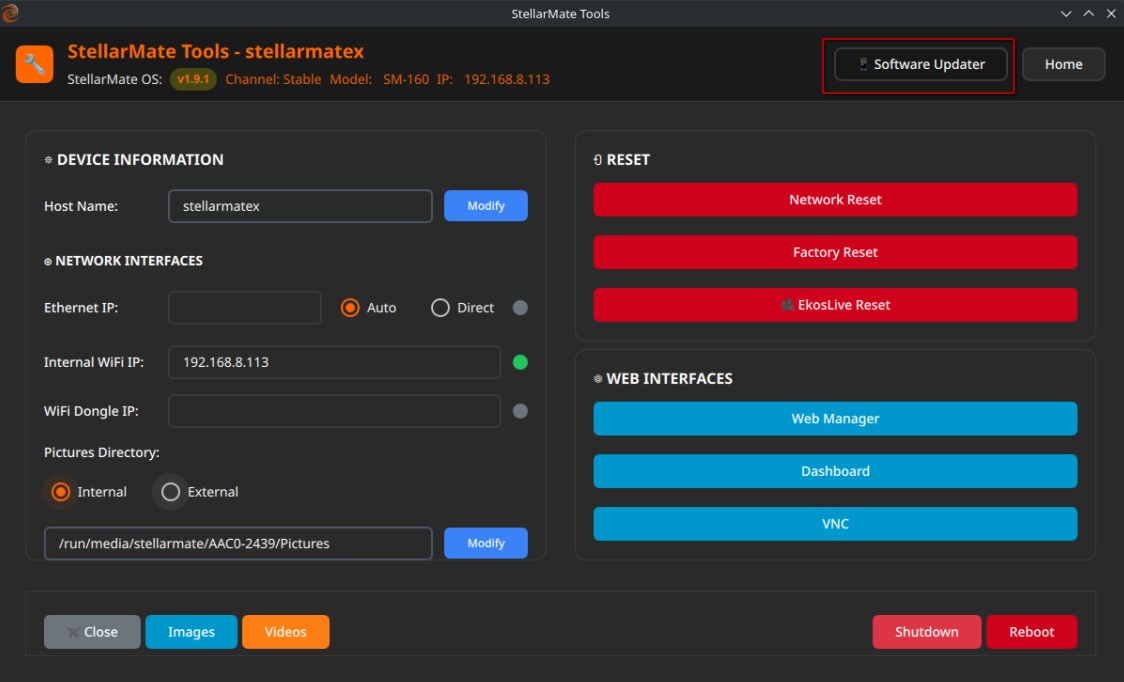
There are two methods to update StellarMate OS: 1. Via VNC Run StellarMate Tools from the desktop. Click Software Updater to begin the update process. It might take a few minutes to complete. Do not restart the unit until the process is complete.
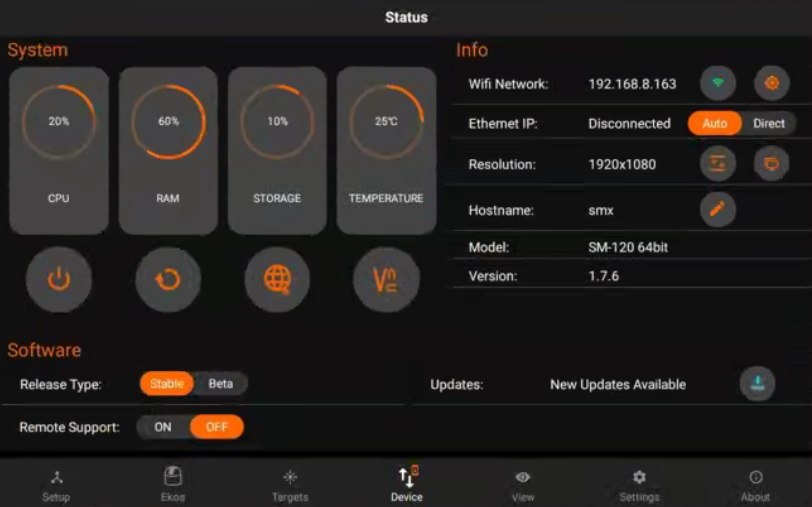
Via StellarMate App
Navigate to the Device Tab and then tap Software Update. After the update is complete, please restart the unit
Switch Version
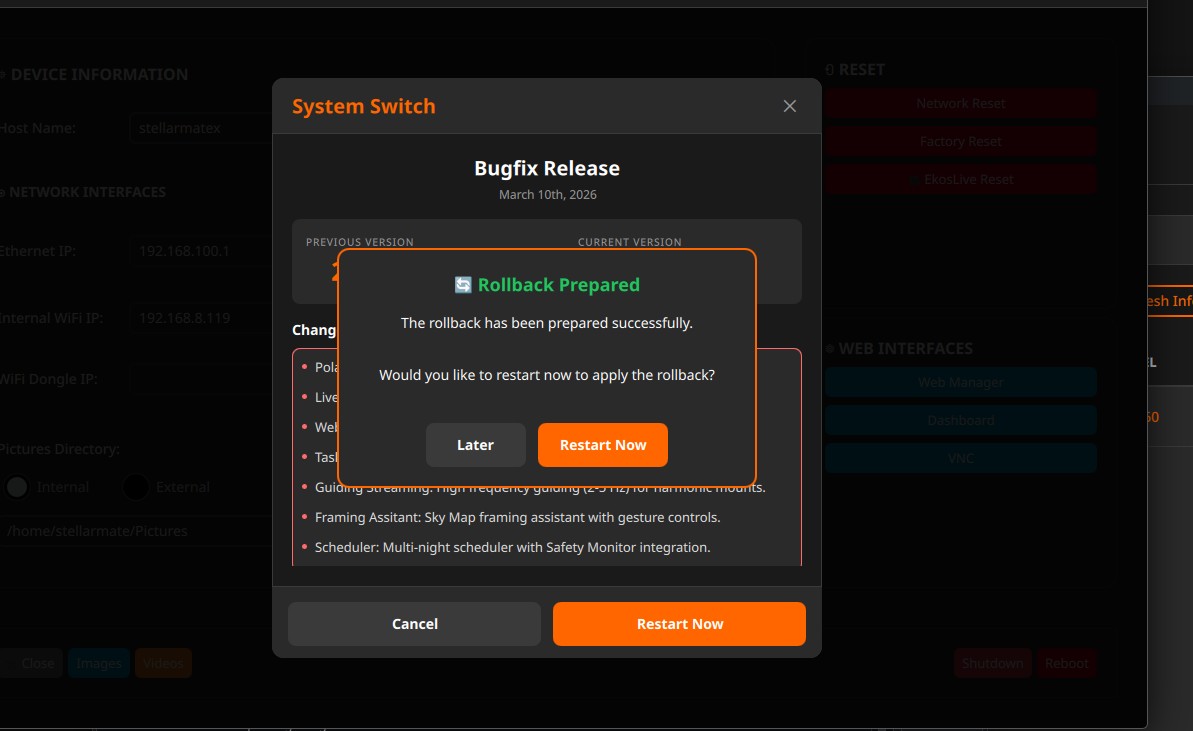
The Switch Version feature allows you to roll back to a previously installed version of StellarMate OS. This is useful if you encounter issues after an update and need to revert to a stable state. If you are currently on the latest version (e.g. 2.1.0), you can check whether a previous version is available to switch to.
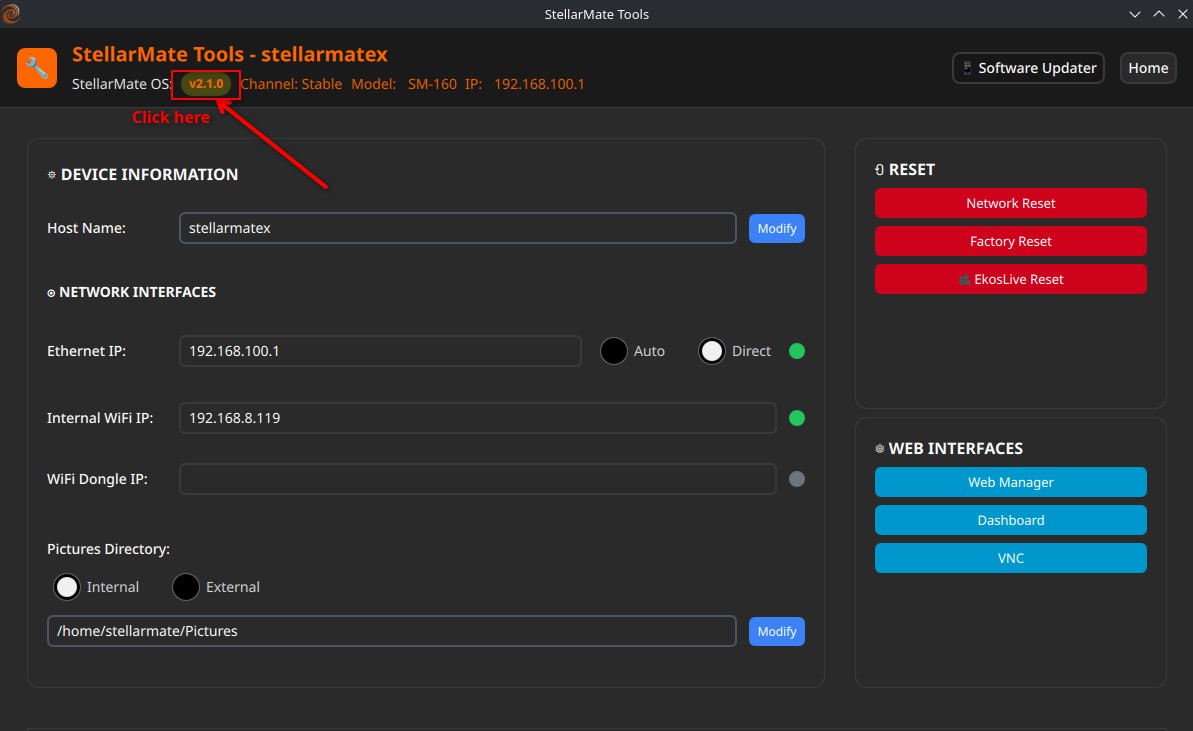
If a previous version is available, click Prepare Switch to begin the rollback process. StellarMate OS will configure the system to boot into the selected version on the next restart.
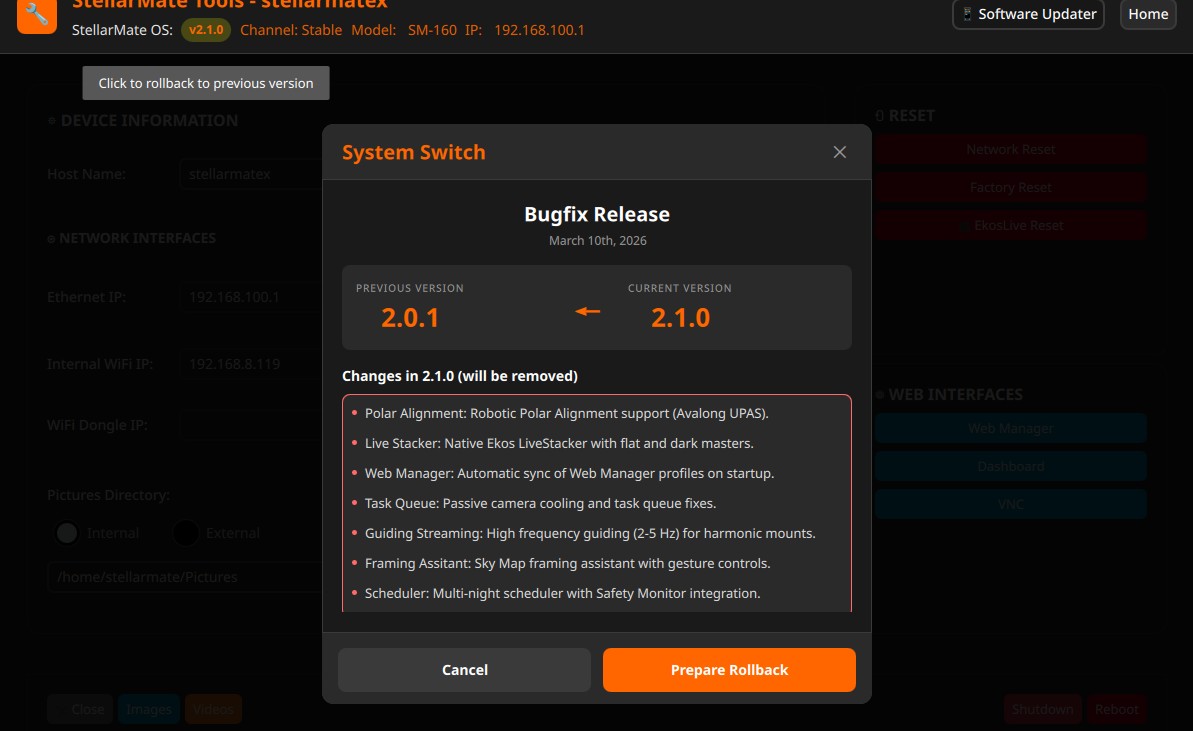
Once the preparation is complete, restart your device to apply the changes and boot into the previous version.