6. Connection Methods
Depending on how you want to connect to StellarMate, click on any of the following options

6.1. HDMI
Note: You must first complete the First Time Setup guide before proceeding with this tutorial.
By default, StellarMate operates in HotSpot mode. Even if configured for WiFi connection or LAN, StellarMate always switches back to HotSpot mode when the other connection modes become unavailable. This ensures you to always have access to the device regardless of network availability. StellarMate gadget is shipped with a 1.8 meters HDMI cable. Connect the cable to any monitor or TV. Make sure the cable is connected to StellarMate before powering on the unit.
Unless the HDMI connection purpose is for viewing only, you also need a keyboard + mouse to control to the StellarMate OS. You can use wired or wireless mouse and keyboards.
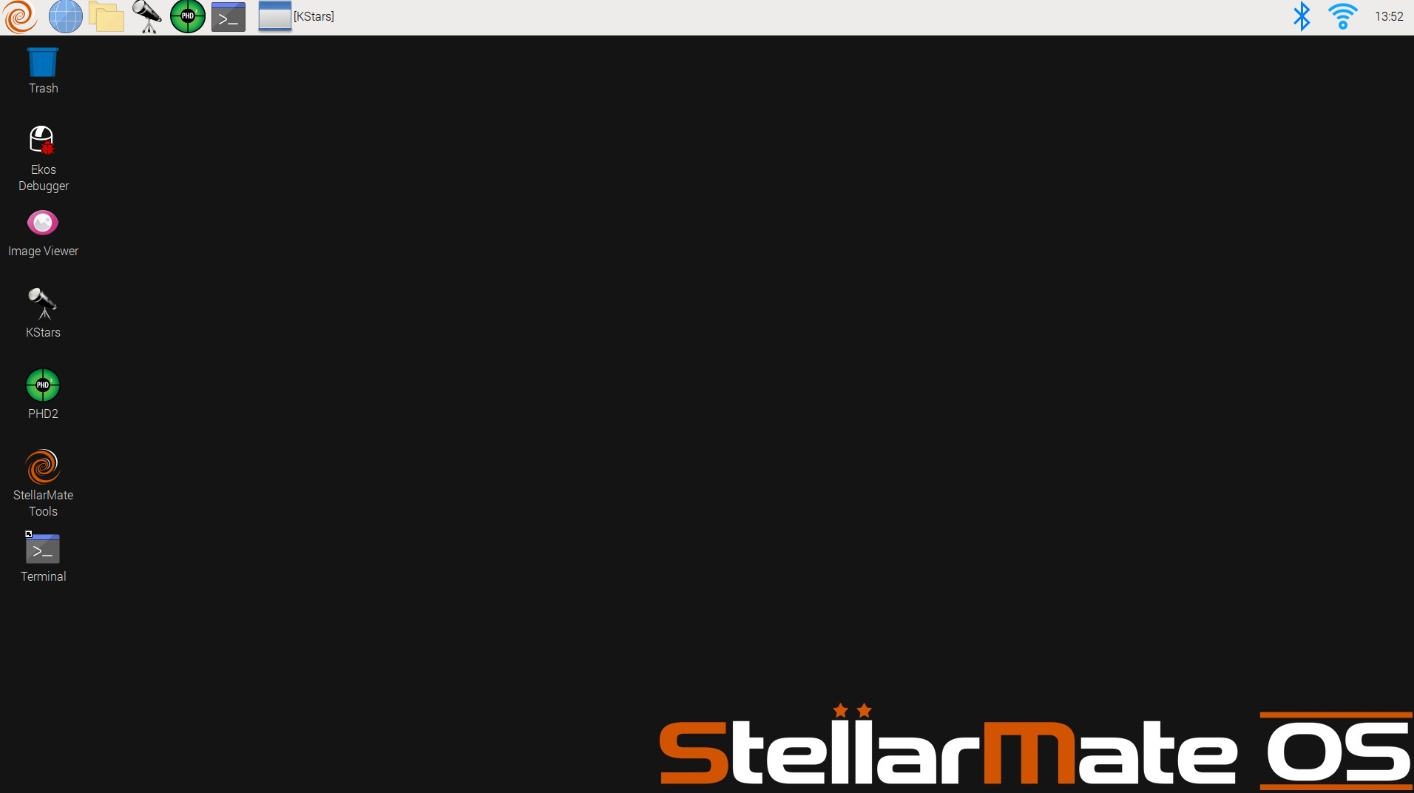
StellarMate unit is shipped with a full-featured Linux® Operation System that you can directly access. The default username and password are:
username: stellarmate
password: smate
This is the same username and password you will use when accessing the unit over Web VNC as well. It is highly recommended to change the default password after your first login to the system.
6.2. WiFi
Note You must first complete the First Time Setup guide before proceeding with this tutorial.
You can connect to StellarMate wirelessly either via:
Direct Connection to the StellarMate HotSpot or
Joining StellarMate to your Home WiFi.
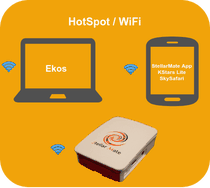
By default, StellarMate runs in HotSpot Mode. Click on the desired mode of connect to learn more about connecting StellarMate.
6.2.1. Access Point
Warning
You must first complete the First Time Setup guide before proceeding with this tutorial.
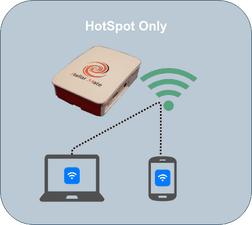
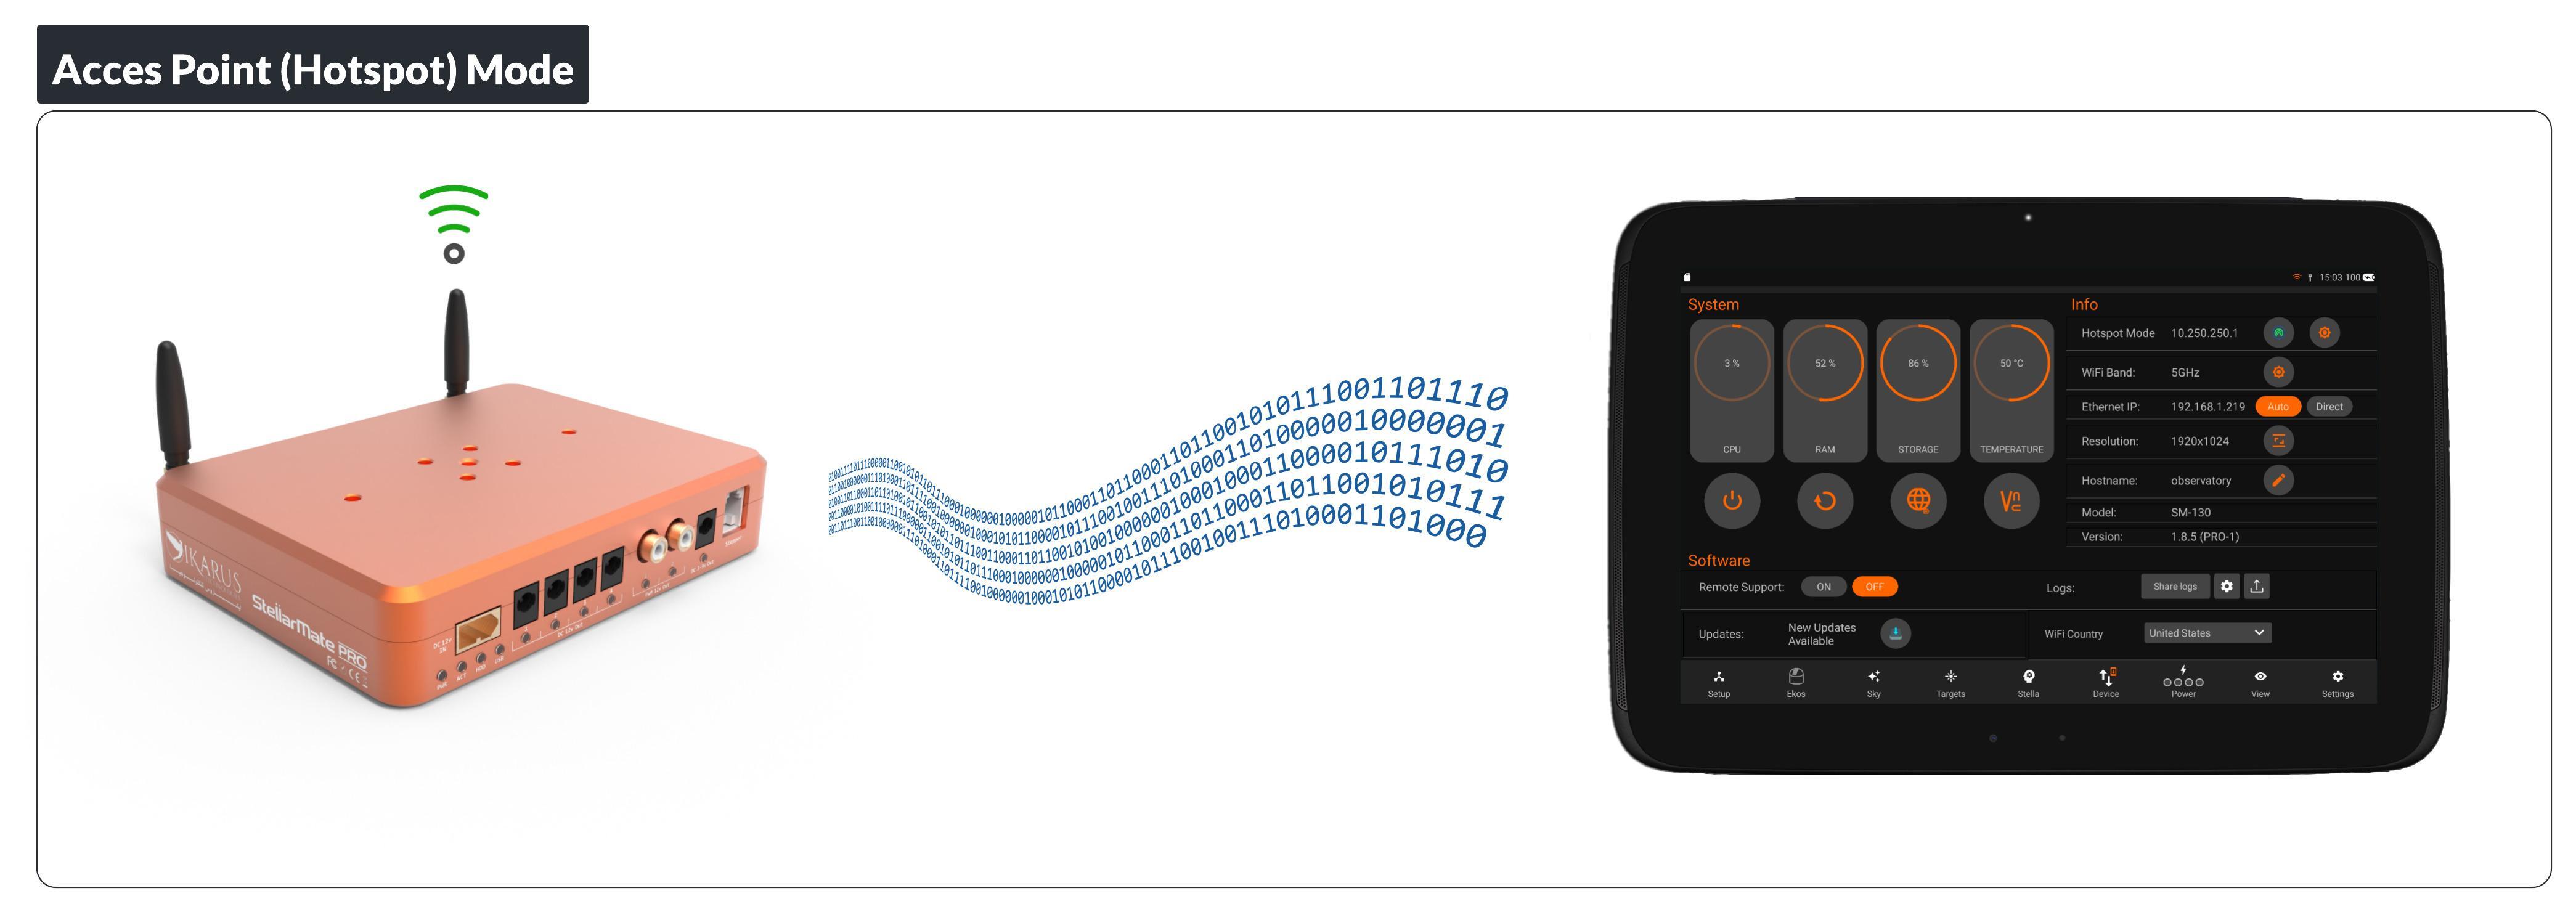
By default, StellarMate operates in HotSpot mode. Even if configured for WiFi connection or LAN, StellarMate always switches back to HotSpot mode when the other connection modes become unavailable. This is to enable you to always access the device regardless of network availability.
6.2.2. Station Mode
Warning
Station mode is where StellarMate joins an existing WiFi network. You must first complete the First Time Setup guide before proceeding with this tutorial.
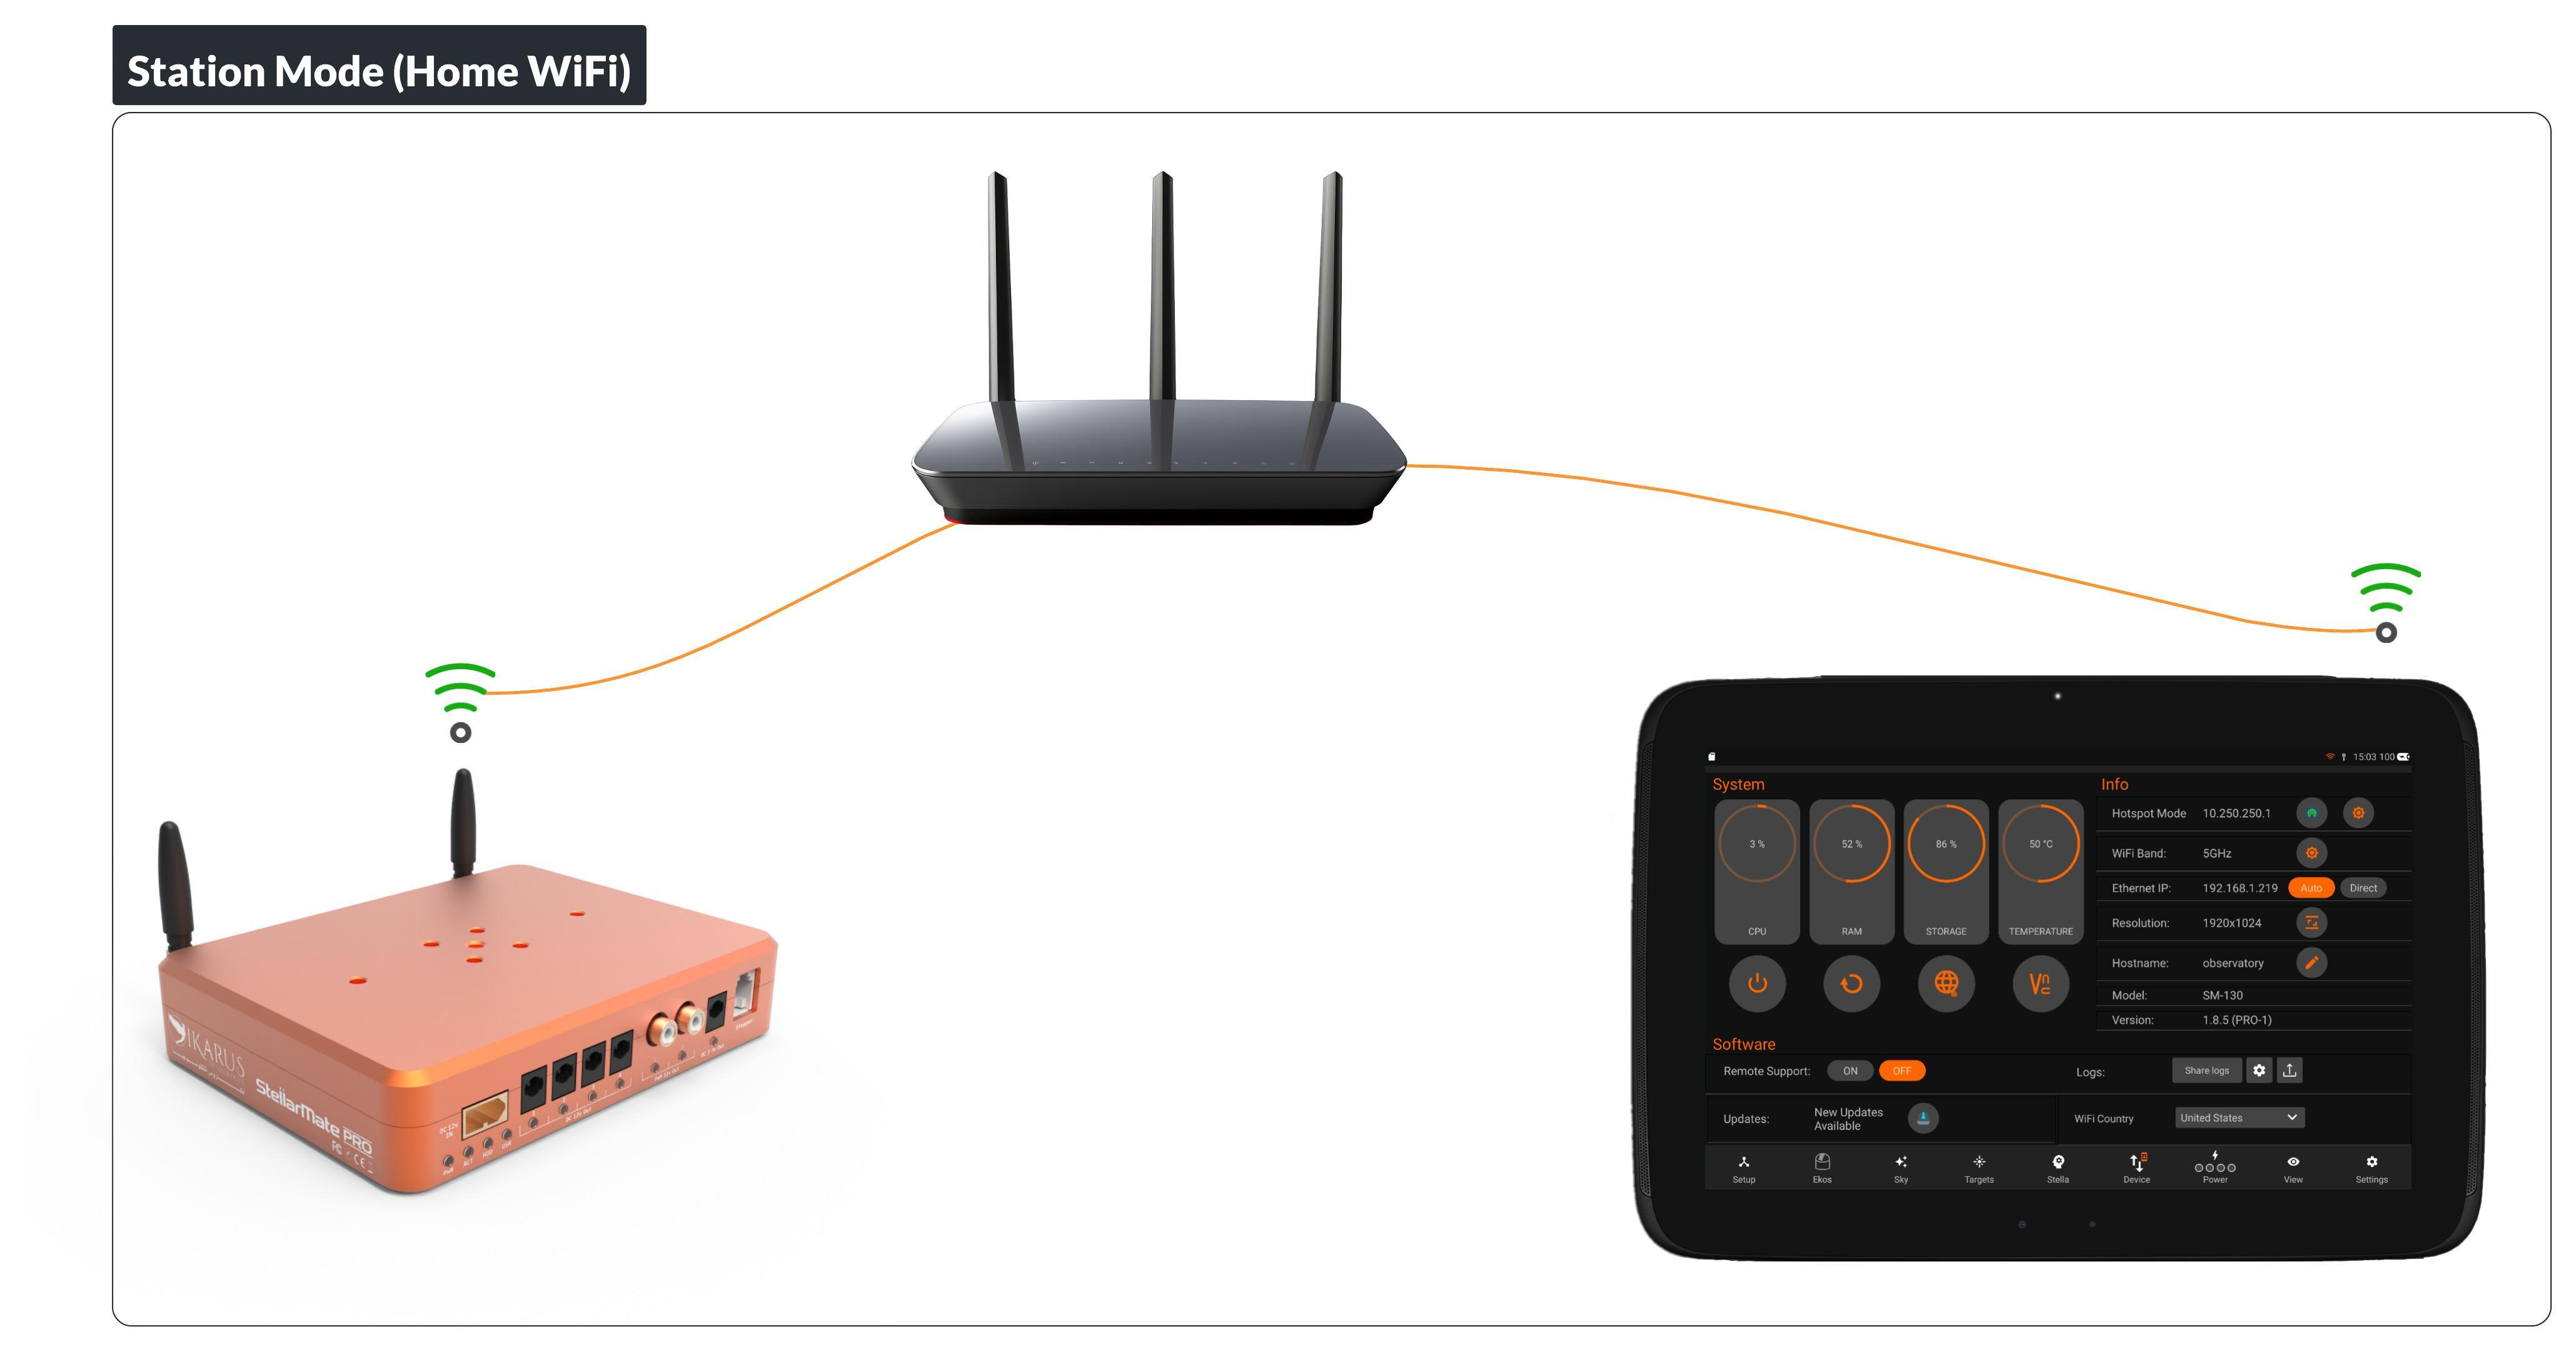
Connecting to WiFi Network Use the StellarMate App to connect to your WiFi network. From your mobile OS, connect first to the StellarMate HotSpot, then launch the StellarMate App and tap RESCAN to connect to the unit. Advanced networking configuration is located in the StellarMate App Device tab.
The Hotspot IP address is always 10.250.250.1 and the hostname is stellarmate.local. The IP address and stellarmate can be used to connect to the unit remotely from KStars or a web browser. To access StellarMate Web Dashboard, visit http://stellarmate.local or http://10.250.250.1
Similarly, when setting an equipment profile on a PC/Mac connected to the same hotspot, use the IP address 10.250.250.1 to connect to the unit.
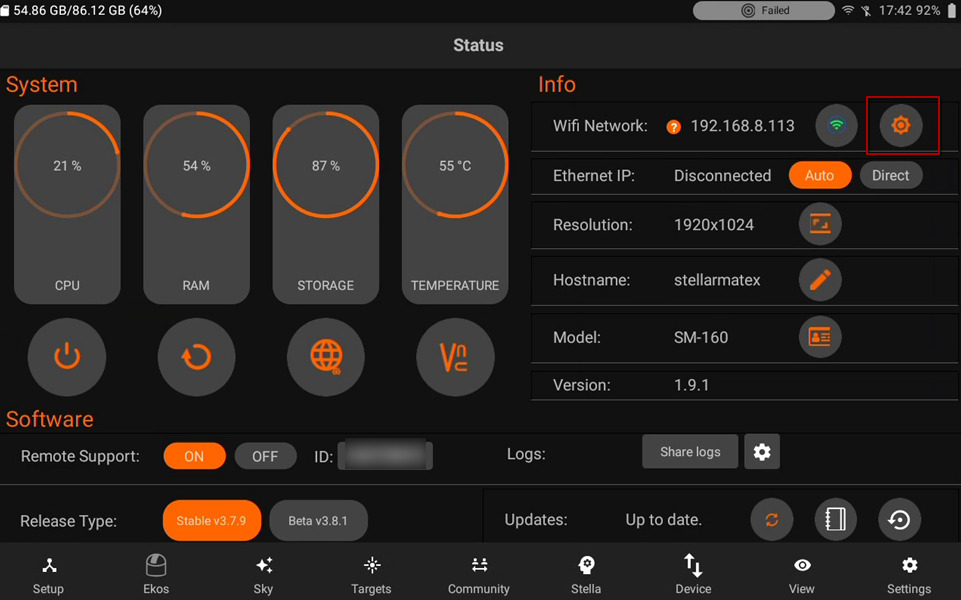
To join an existing WiFi networking, tap on the Manage WiFi button (orange cogwheel next to green WiFi icon). The App should display a list of detected WiFi networks in the vicinity.
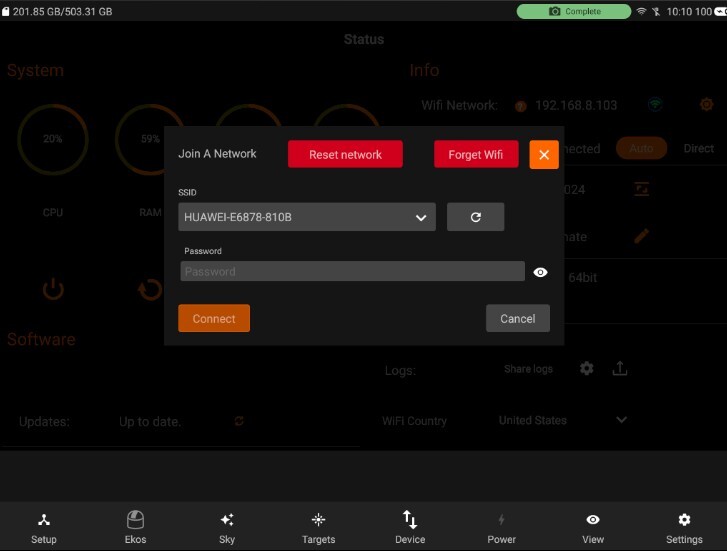
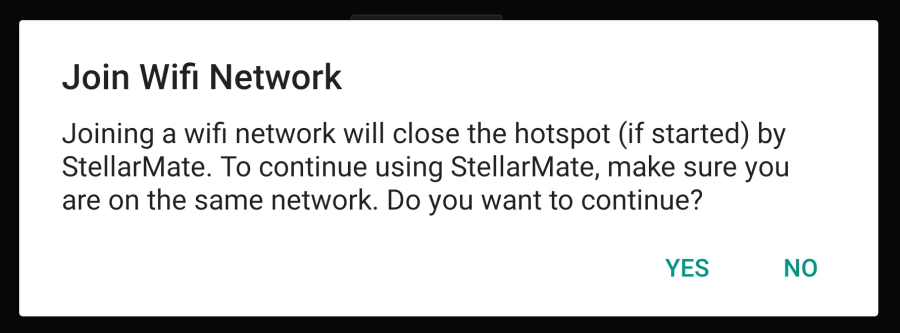
Select the desired WiFi network from the list and press Connect. Enter and double check the WiFi password. A final confirmation warning popup about switching to WiFi station mode is displayed, press Yes to continue.
The App will command StellarMate to join the WiFi network and then begins to scan for StellarMate in the local network. This assumes your phone/tablet will automatically switch to your home WiFi network since it will be disconnected from the hotspot and in most cases this causes Android/iOS to fall back to the next available network. If this does not happen, then go to Network Settings in your mobile OS and connect to the same WiFi network selected above.
This process can take up to 2 minutes. If successful, the device IP address is going to change to the new WiFi IP address. Go back to the setup page to make sure the device is connected. If not, tap RESCAN to scan the new network for attached StellarMate units. Once detected, tap the detected device to ensure it is connected properly. Once StellarMate is joined to a WiFi network, it will always try to connect to this network unless it is out of range. In this case, it will default back to the HotSpot.
6.2.3. StellarMate Address
Whether you are accessing StellarMate from PC, Mac, or Mobile, you can always reach it by the address stellarmate.local This is the address that should be used in Ekos if you are using Ekos on a PC/Mac to connect remotely to Ekos. To access StellarMate Web Manager, type in stellarmate.local:8624
Note
When accessing StellarMate directly via Hotspot (Access Point), the unit IP address is always 10.250.250.1. Therefore, if you are having an issue accessing the unit via its hostname, you can simply use the IP address in your browser to access StellarMate Web Manager (http://10.250.250.1:8624).
6.3. Ethernet
Note
You must first complete the First Time Setup guide before proceeding with this tutorial.
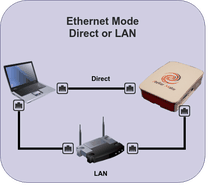
All StellarMate units are shipped with a Gigabit ethernet. Compared with WiFi, wired Ethernet connection offers higher speeds and reliability. It is recommended for fixed observatory setups. By default, StellarMate operates in HotSpot mode. Even if configured for WiFi connection or LAN, StellarMate always switches back to HotSpot mode when the other connection modes become unavailable. This is to enable you to always access the device regardless of network availability.
When plugged to a network, StellarMate should be assigned an IP address from the router. The IP address is not fixed and managed by the router. Advanced users can assign a fixed IP address from the router directly (where supported) by assigning a fixed IP address to StellarMate unit MAC address.
6.3.1. Direct Ethernet
StellarMate includes a Gigabit (1000Mb/s) Ethernet port. You can connect StellarMate to your home router. Alternatively, you can also directly connect StellarMate to your PC/Mac. This can be done using a regular Ethernet cable, at home or in the field. Wired connections are very fast and highly reliable. For users who prefer the wired solution, you can follow the video guide to connect your StellarMate to PC/Mac.